-40%
Christmas ANGEL Ornament Kit BIRTHSTONE Safety Pin Beads Beading Kids Craft XMAS
$ 3.69
- Description
- Size Guide
Description
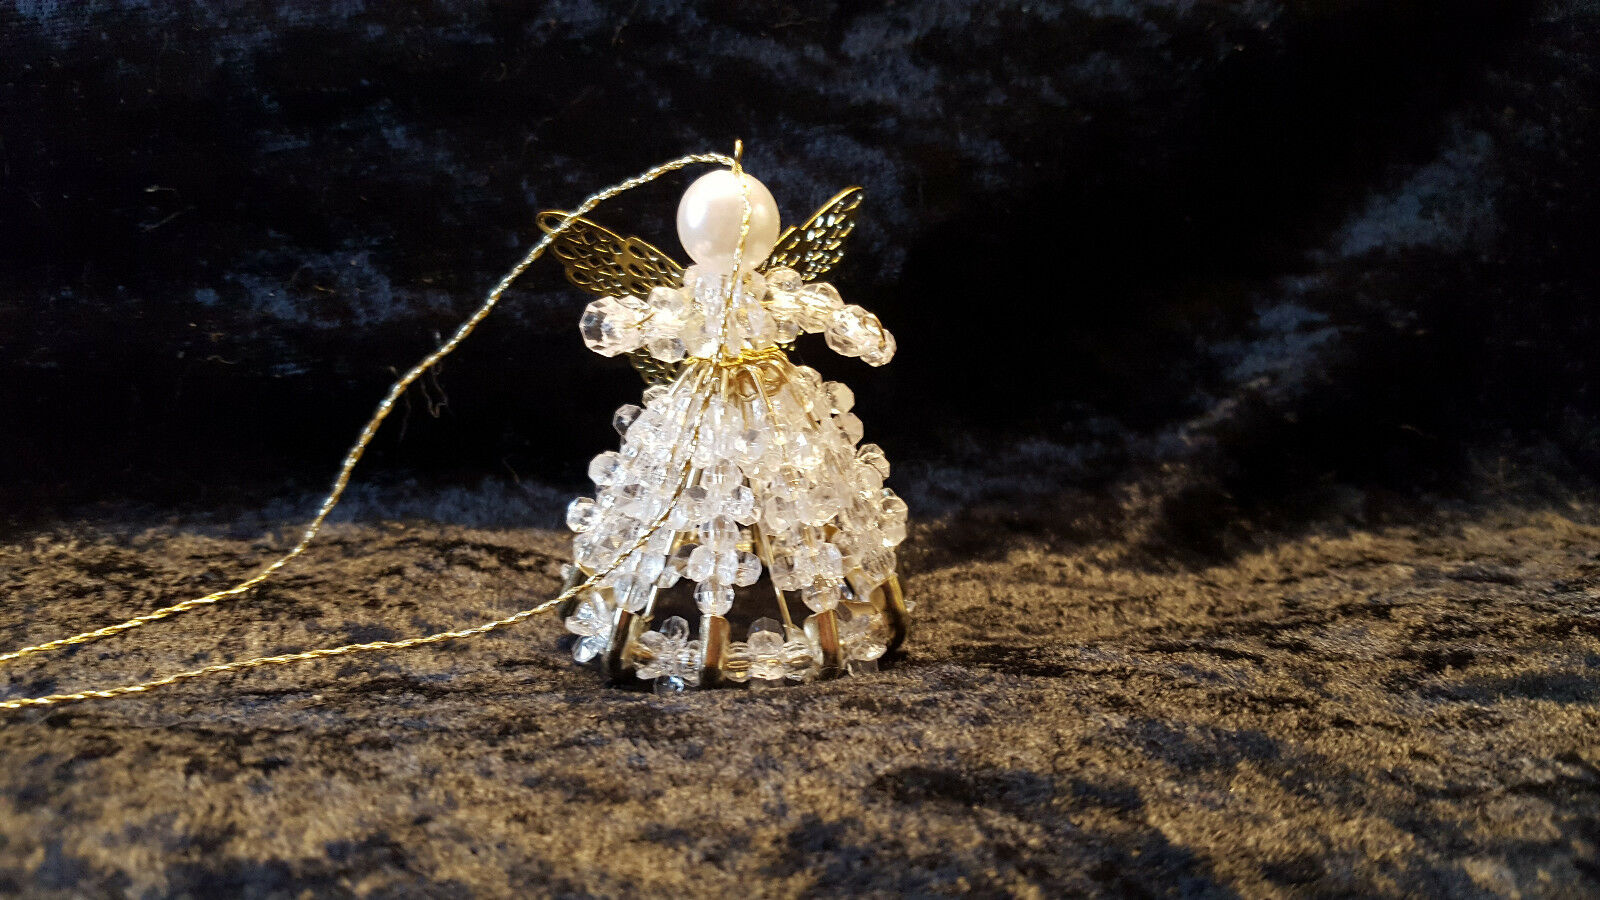
Beaded AngelA fantastic kit for any time of the year, but especially for Christmas. Each child can create their own personal angel. These easy to assemble angels are bright, hardy and fun to make.
Materials needed:
Glue gun and sticks; 1 pkg. Darice Safety Pin Angels (month of choice); small wire cutters and pliers.
Finished Size:
4" high.
Instructions:
The actual instructions for this project come inside the package after selling many of these we have come up with some tips to make the "angel building" smooth and easy! We suggest that print out this page of more detailed instructions to assist you when you purchase your angel kit.
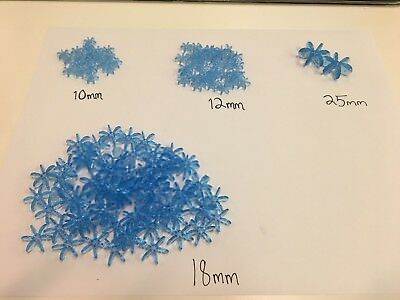
In step 1 of instructions, which come with the beaded safety pin angel, you will notice that there is very little difference between the 10mm and 12mm stars, so look carefully at the sized before you put them on the pin. If you use the wrong sizes, you will have to take your work apart.
2. When placing all 10 pins on the 5" length of wire for the skirt, be sure to place the side of the safety pins with the beads to the outside. Best to sort them out when you first begin.
3. Step 3 of instructions provided with kit it is very misleading. It is easier to understand this step by looking at the actual photo of the finished angel on front of package. Thread wire through head of safety pin and add beads as instructed. Then, thread wire through next pin head and repeat process in this manner all around base of skirt, then tie off wire.
4. When adding the bell cap, place it on wire so the leaves are pointing down over top of skirt.
5. This (creating arms) was the most challenging step, as the directions give little detail on how this is done. What we did, which is opposed to the directions was to double both 6" pieces of wire in half and then strung the beads from step 5 in the opposite order. This left a small loop on the end for hands and it was easier to attach the wire ends to the body.
6. Easy, just glue wings and halo on.

